29 January 2024 - Tom Opio
Featured in: Product information and OPTEX tech tips, Tech Tip, Intrusion detection
The REDSCAN mini-Pro RLS-2020V and RLS-2020A models both support video streaming on client applications.
If there is an alarm, the location indicator overlay is transmitted on the video stream. For the RLS-2020A model, that doesn’t feature a camera, a digital map image is used instead of live camera video. The RLS-2020V, which features a camera, has the option to use live camera footage or the digital map image in the stream. In this tech tip, we will look at how to effectively use the digital map image to identify the location of intrusion.
Preparing the map image
Prepare an image or choose a photo that matches the detection area that the REDSCAN mini-Pro will be set to detect, please note the image must meet the criteria listed below. For a vertical REDSCAN mini Pro-orientation, installation rotation of the image may be required.
Image requirements.
Use jpeg format.
Maximum file size – 2MB
Horizontal pixel size – max 1920
Vertical pixel size – max 1080
An aspect ratio 16:9 recommended, if necessary, consider using image aspect ratio that maps more closely with detection area.
Loading the image to REDSCAN mini-Pro
Open up a web browser on your computer and open the same network using the IP address of the REDSCAN mini-Pro sensor. Login to the remote console and when prompted type the appropriate user ID and password.
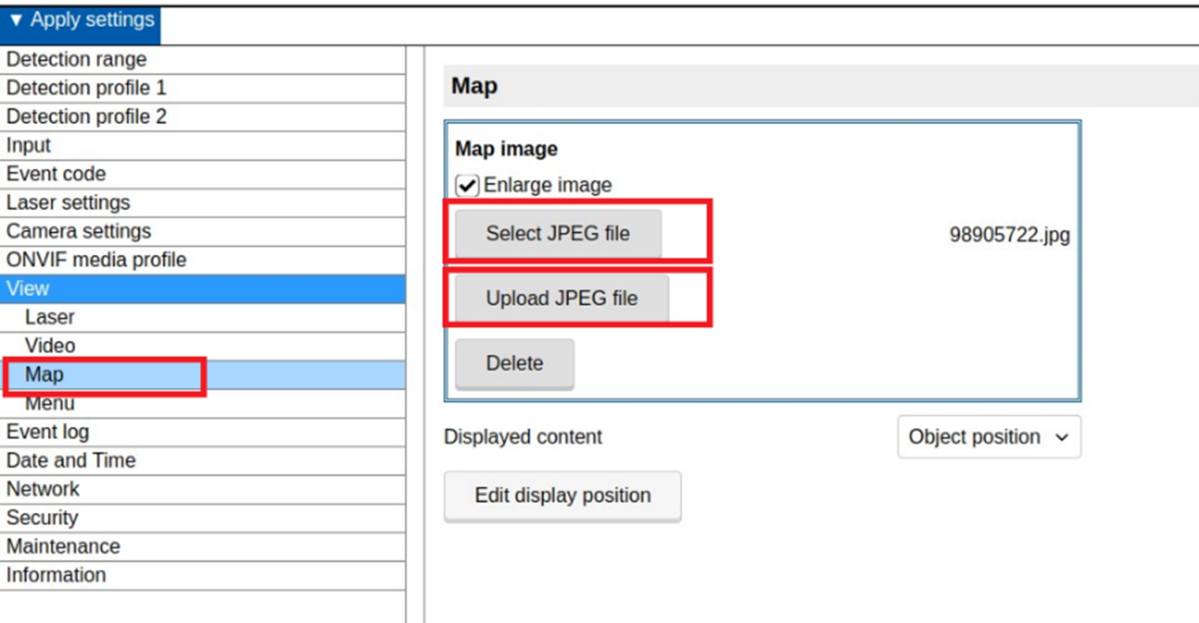
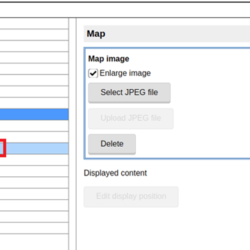
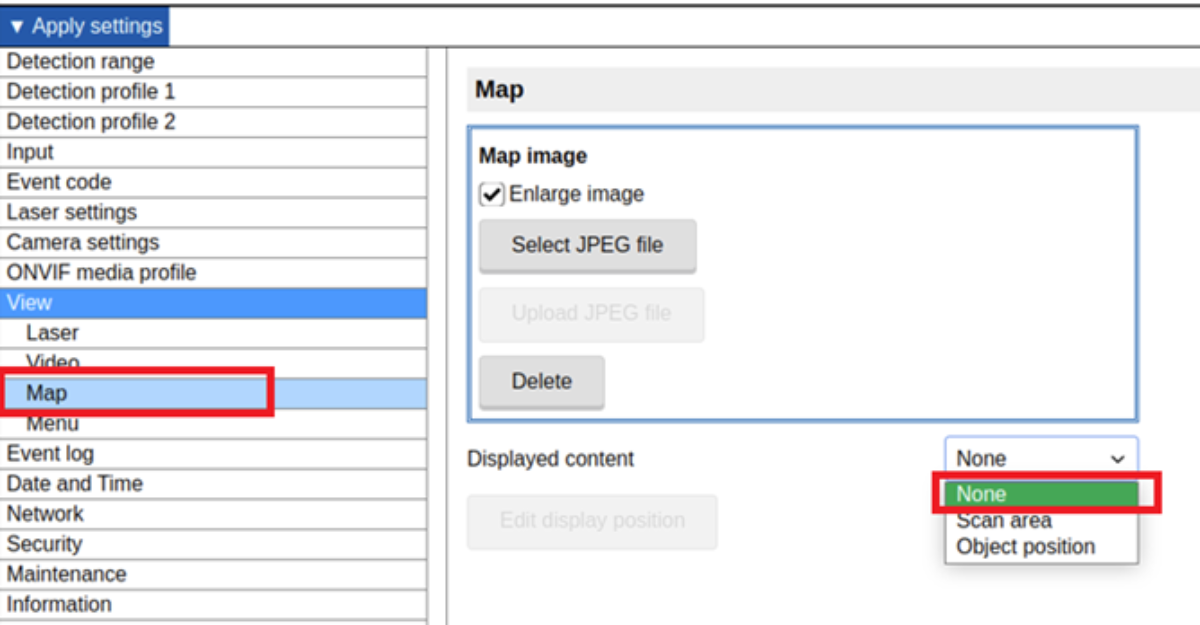
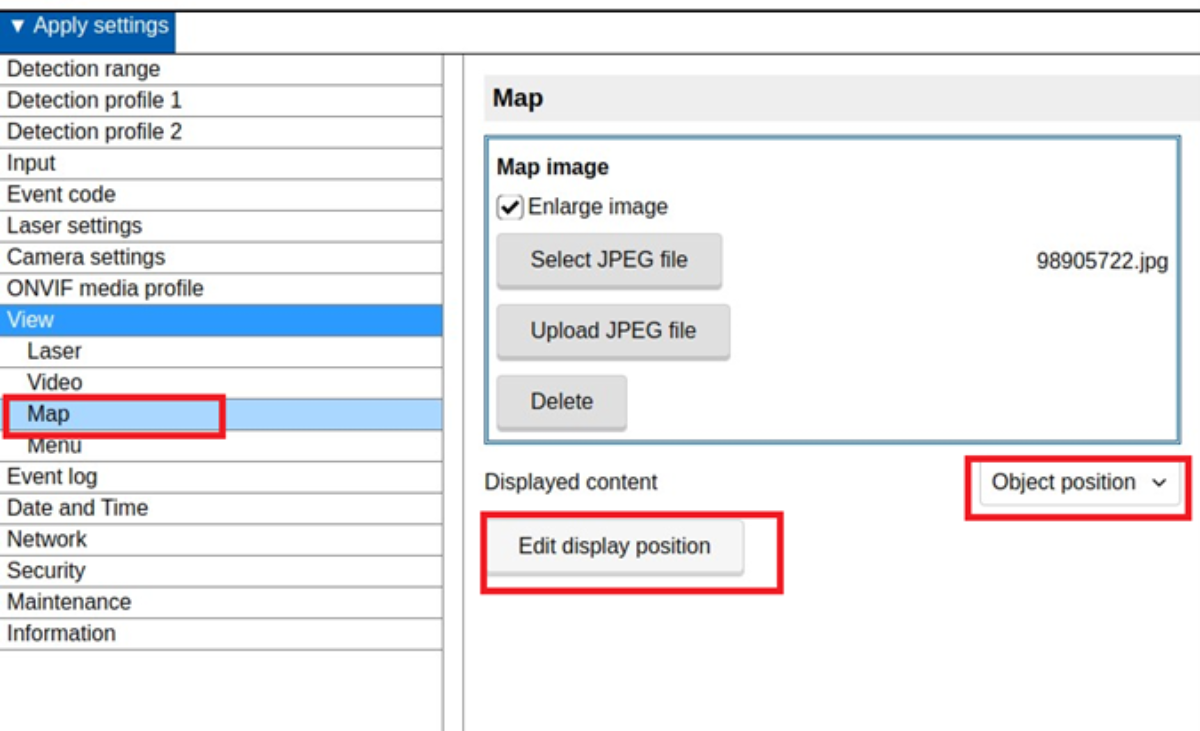
Open the settings menu located at the bottom left of the screen and expand the VIEW sub menu.
Select the file prepared in the above steps and upload to the REDSCAN detector. In case the image looks too small, repeat the upload with enlarge image selected.
Displayed content type
The detected objects can be displayed as ‘object position’ on the laser line or as a dot in the scan area located in the detection area.
Object position content type
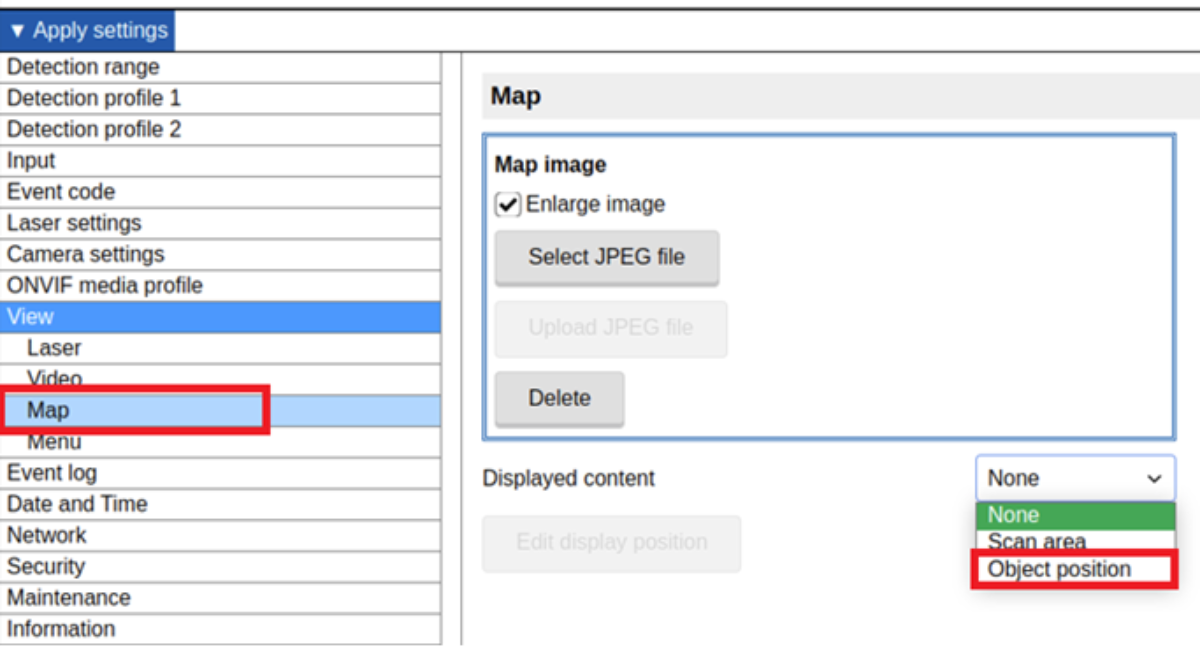
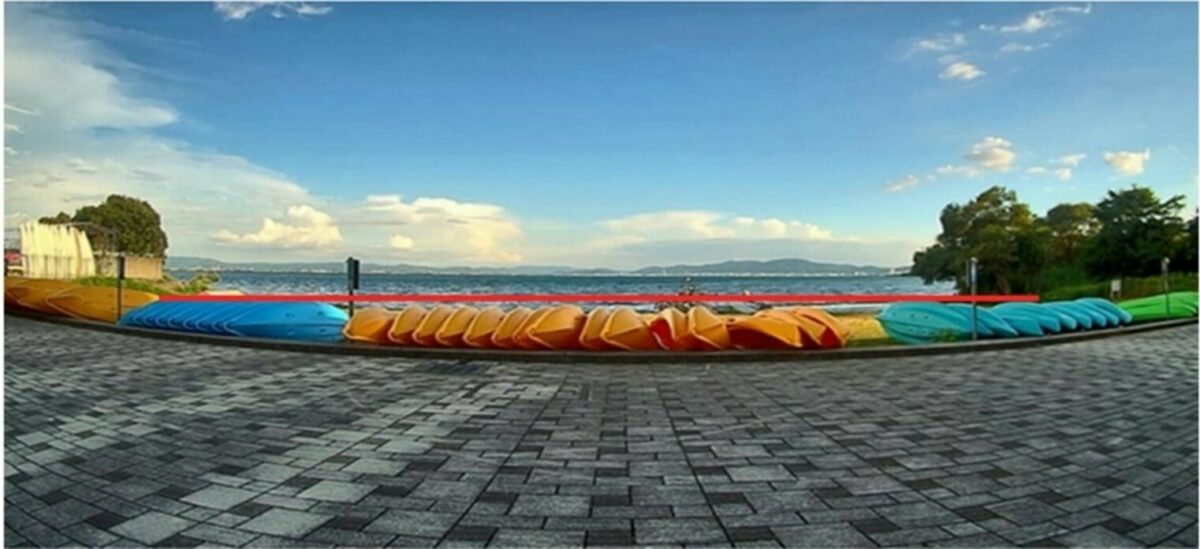
This will show the laser line on the image, and it is most suitable for showing detected objects along a narrow path or zone.
Scan area content type
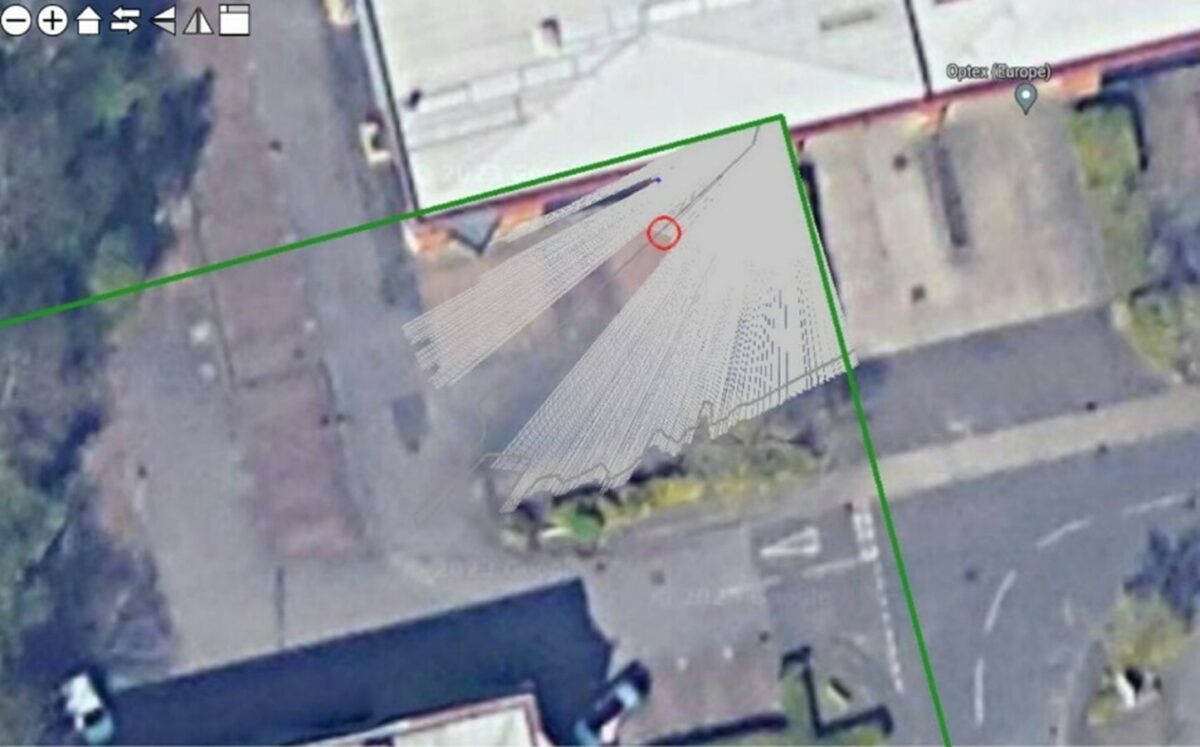
‘Scan area’ content type will show the x and y coordinates of the object location on the image map.
None content type
If you choose not to use an image, select ‘none’ content type. With this setting, the RLS-2020V will show the camera image and the RLS-2020A will show the detection pattern view with a blank background.
Adjusting the laser line to map correctly to the image
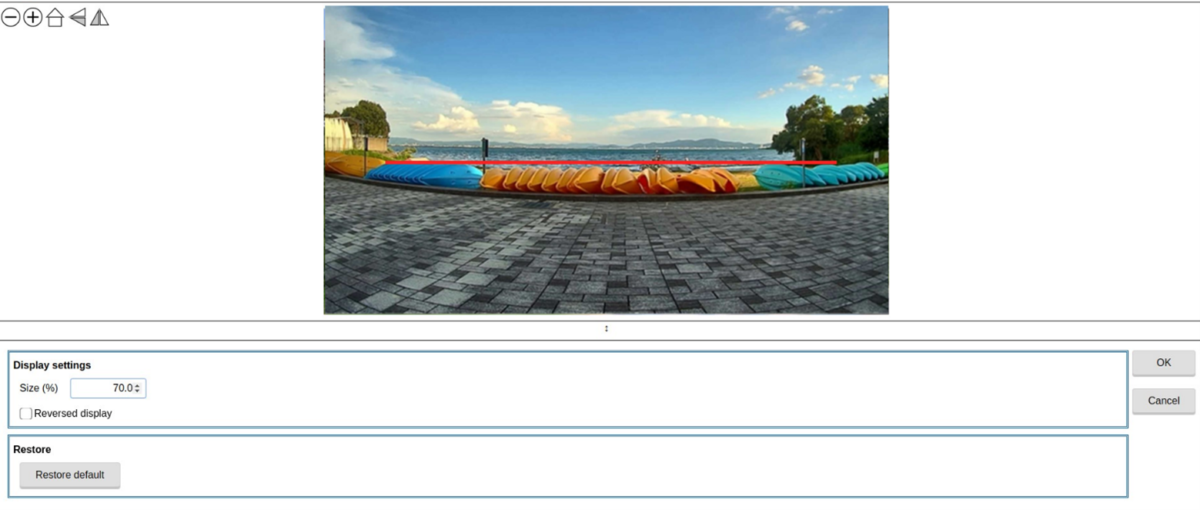
After uploading your image, you need to adjust the image so that the detected object maps correctly onto the image. Select the displayed content type and click the ‘edit displayed position’ button.
For the ‘scan area’ type, you can adjust the angle, scale and position of the REDSCAN’s detection pattern.
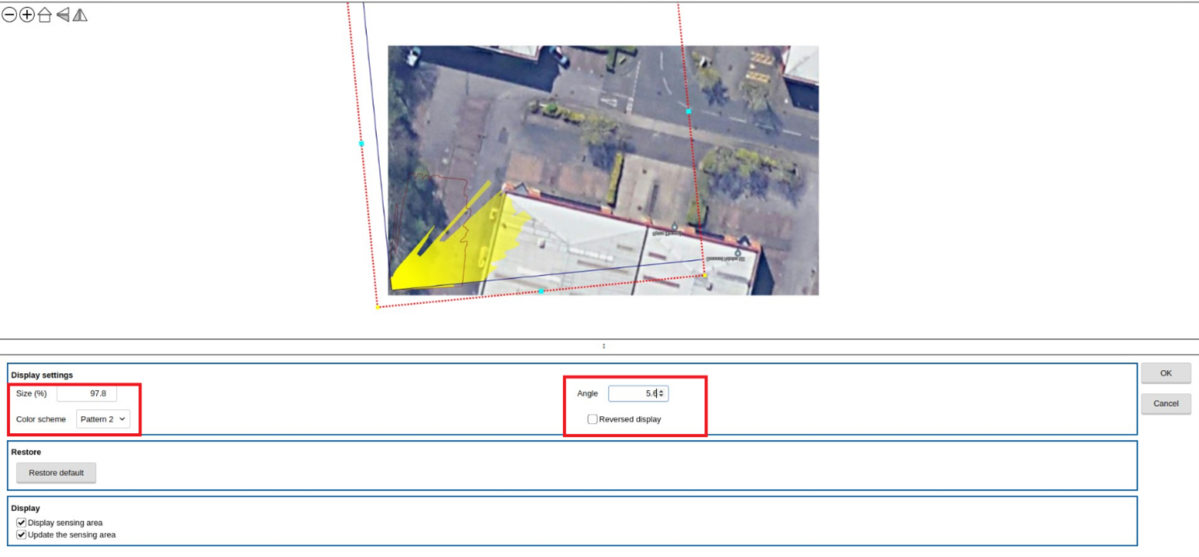
The ‘object position’ map types the laser scan position and scaling may be adjusted to image. The laser line can be adjusted to the correct position on the image.
Using the image as video stream with alarm position overlay
The image with alarm position is available as ONVIF video stream accessible to ONVIF video streaming clients.
The URL:
rstp://<redscan mini pro IP address>/stream/0
http:// <redscan mini pro IP address>/stream/0
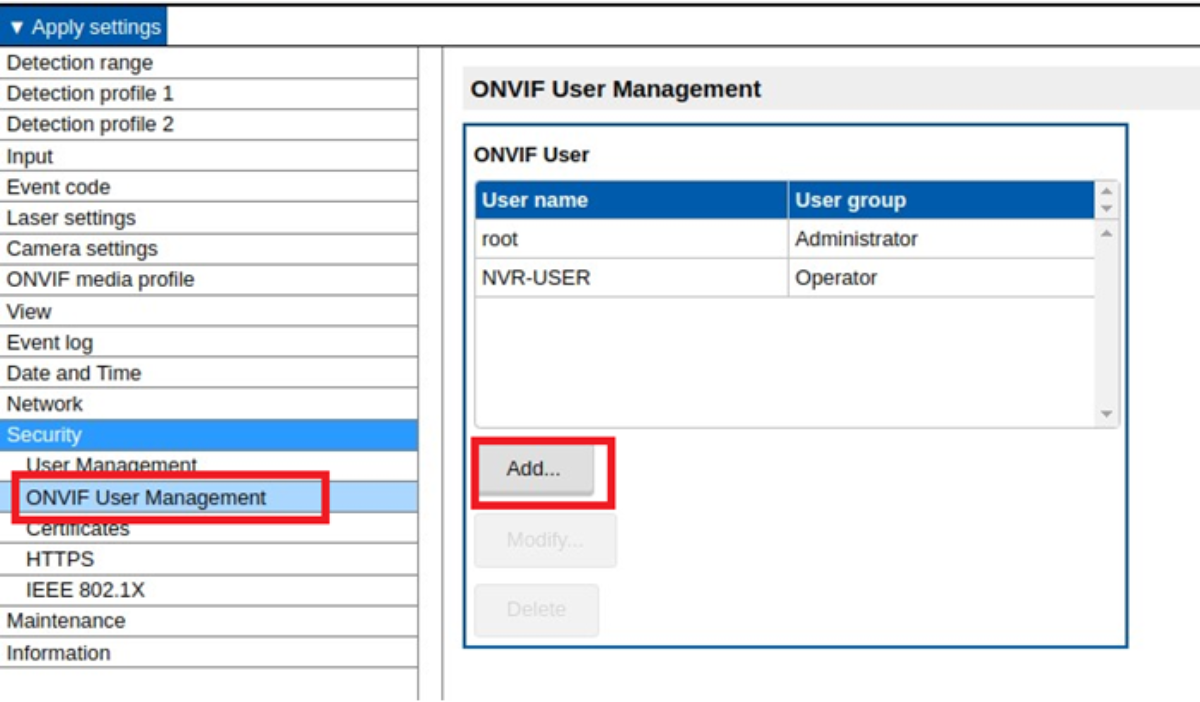
For this, create an ONVIF username.
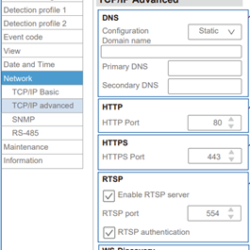
Enable RTSP server network advanced menu.
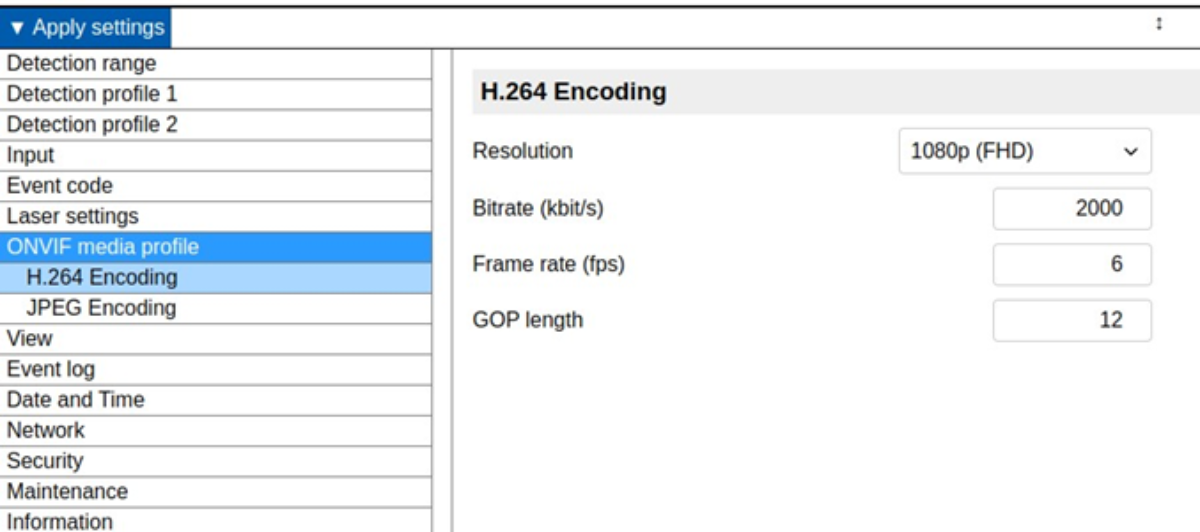
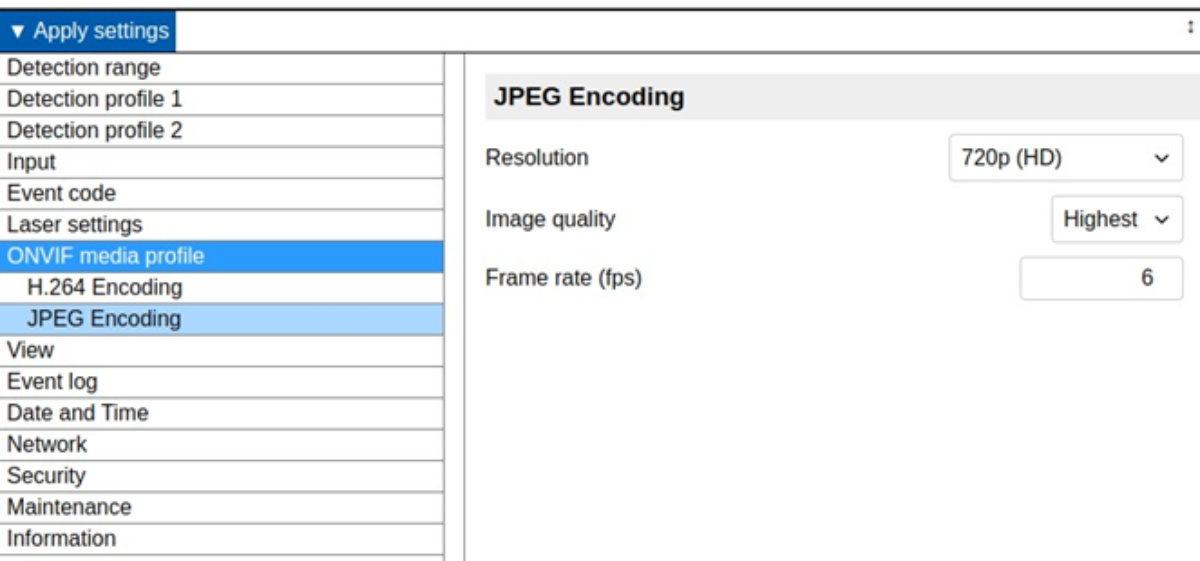
Configure the video under ONVIF media profile menu.